Homemade Spaghetti & Focaccia!!
I took a few days break from blogging and now I am ahead of the game with a few new recipes that we have tried out! Our own creations that are new to us and will definitly be new to you! Today I am going to show you how to make an old family favorite, Spaghetti Sauce and Homemade Focaccia Bread, which was a great replacement for your traditional garlic bread.. It was super easy to make and it turned out delicious 🙂 Here goes..
To Start the Sauce:
Before I fry my meat, I always prep my veggies, which includes:
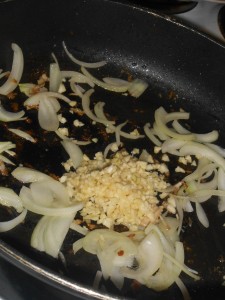
- 7 Cloves of Diced Garlic
- 4 peppers diced can be any color
- 2 large onions
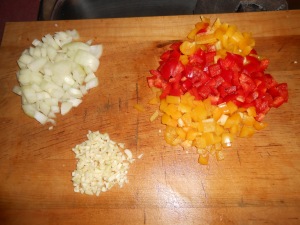
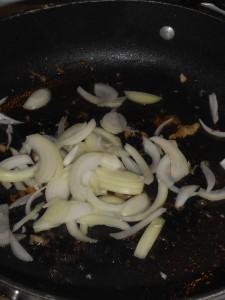
Veggies are prepped
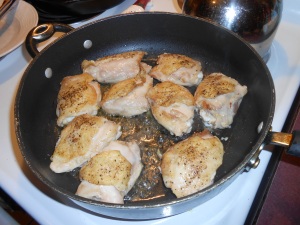
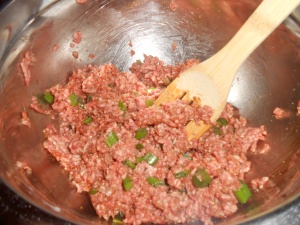
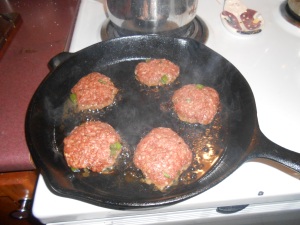
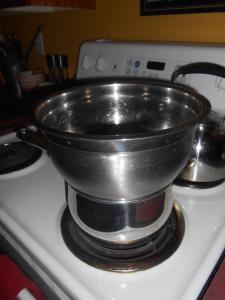
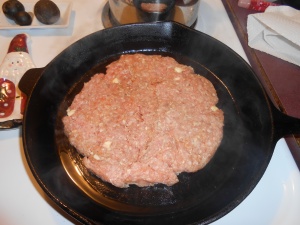
Fry in your pot 1/2 lbs of ground pork and 1/2 of ground beef. Traditional style recipies also calls for veal so if you wanted to switch up your regular ground beef with ground veal that works too. Season with Salt & Pepper and add a little worcestershire sauce, and dried chili flakes.

Frying the meat!!
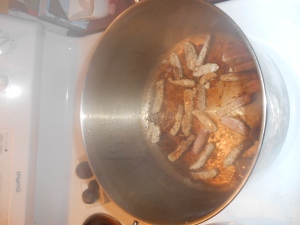
When the meat is fryed add your prepped veggies.
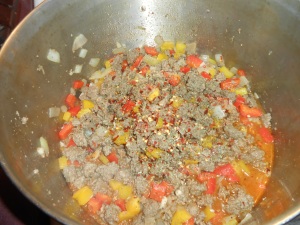
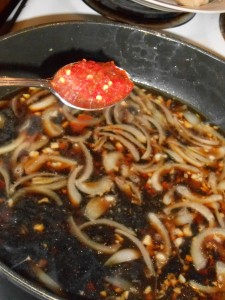
While the veggies are cooking I always open my large can of San Marzano Tomatos.. put them in a bowl where I crush them with the immersion blender!
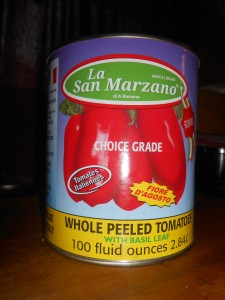
The best tomato’s to use for a sauce.. these can be purchase at Costco for super cheap!
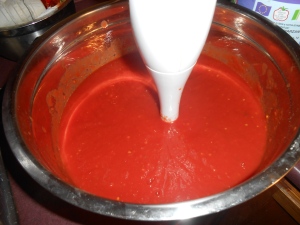
Hitting them with the immersion blender for a smooth tomato sauce!
Add your purified tomatos to your veg and meat. Then add 1 glass bottle of purified all San Marzano Tomato’s with basil.. We also get these at Costco. Add 2 tbsp of sugar for sweetness and about 4 bay leaves. Season with Salt and Pepper, Stir and let simmer until it tastes how you want it to!
For this spaghetti I just happened to use fresh pasta that i bought on sale for 1.99 at the Sobeys.. Carter and I both really liked it however the chef in the house John really prefers Smart Spaghettini pasta.. which is also just as good!
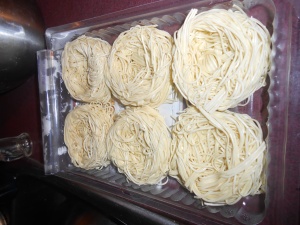
Fresh Pasta
Cook Pasta in salted water with a dash of Olive Oil drain, but do not rinse so it remains starchy.
Put Pasta on a plate, add the sauce and if you like add Parmasean cheese Enjoy!!
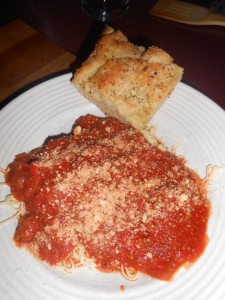
The Final Product Delicious!
Easy Homemade Focaccia Bread
I have made this 2 times and really like it because it is easy and you can put any topping on it you desire!!
Ingredients
- 1 3/4 cups warm water
- 1 package active dry yeast
- 1 tablespoon sugar
- 5 cups all-purpose flour, plus additional for kneading
- 1 tablespoon kosher salt, plus coarse sea salt, for sprinkling
- 1 cup extra-virgin olive oil, divided
Directions
Combine the warm water, yeast and sugar in a small bowl. Put the bowl in a warm, not hot or cool, place until the yeast is bubbling and aromatic, at least 15 minutes.
In the bowl combine the flour, 1 tablespoon of kosher salt, make a well, add in well 1/2 cup olive oil and the yeast mixture. Take mixture from the side adding to the liquid in the center. Once the dough has come together, continue to knead for 5 to 6 minutes until it becomes smooth and soft. Give it a sprinkle of flour if the dough is really sticky and tacky.
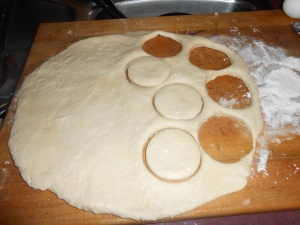
Transfer the dough to a clean, lightly floured surface, then knead it by hand 1 or 2 times. Again, give it another sprinkle of flour if the dough is really sticky and tacky.
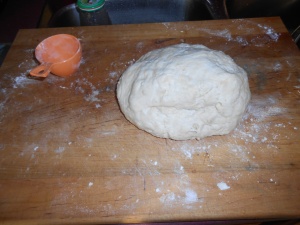
focaccia dough
Coat the inside of the th bowl lightly with olive oil and return the dough to the bowl. Cover it with plastic wrap and put it in a warm place until the dough has doubled in size, at least 1 hour.
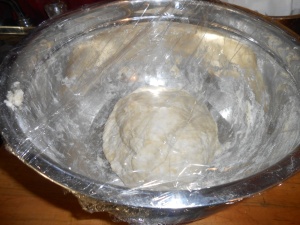
Proofing the dough!
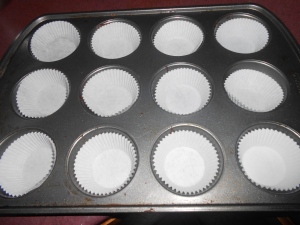
Coat your pan with the remaining 1/2 cup olive oil. This may seem excessive, but focaccia is an oily crusted bread. This is why it is so delicious!
Put the dough onto your pan and begin pressing it out to fit the size of the pan. Turn the dough over to coat the other side with the olive oil. Continue to stretch the dough to fit the pan. As you are doing so, spread your fingers out and make finger holes all the way through the dough. (Yes, this is strange. But when the dough rises again it will create the characteristic of rustic looking focaccia. If you do not make the actual holes in the dough, the finished product will be very smooth.)
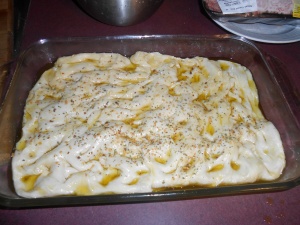
Put the dough in the warm place until it has doubled in size, about 1 hour. While the dough is rising a second time, preheat the oven to 425 degrees F.
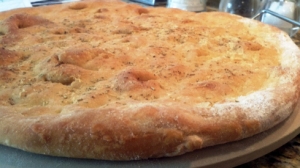
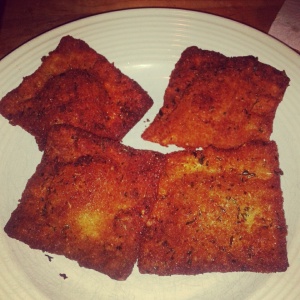
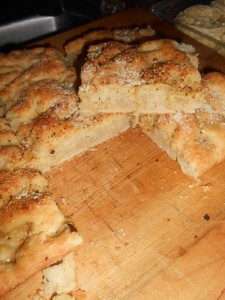
Liberally sprinkle the top of the focaccia with some coarse sea salt and lightly drizzle a little oil on top. For additional toppings, I added sprinkled garlic plus and Kraft Parmesan Cheese. Bake the dough until the top of the loaf is golden brown, for 25- 30 minutes. Remove the focaccia from the oven and let it cool before cutting and serving.
This is delicious!!
So this is it, this is how I make my family homemade spaghetti and focaccia..
Next up my own creation, Asian Inspired Sliders 🙂